Serves 1 (scale the brine for more) | Prep: 40 minutes, including brining | Cook: 50 minutes
The idea is simple. Instead of blasting the outside and praying the middle catches up, you cook the whole breast, edge to edge, at exactly the temperature you want it to finish, and it cannot go past that temperature, because the water never does. What you get is a breast cooked evenly from surface to core, held at the point of maximum juiciness, with none of the grey, overcooked outer ring you get from a pan. Then, and only then, you sear it (fast and hard) purely for colour and crackle on the skin. Two separate jobs, done separately, each one done properly. That’s the entire trick.
I brine mine first, and I’d urge you not to skip it. A short salt bath before the bag does something a bag alone can’t: it seasons the meat all the way through and changes its texture, so the finished breast is subtly firmer, springier, and tastes of chicken rather than of the sauce you served it with. It is the difference between “nicely cooked” and “why is this so good.”
The Kit
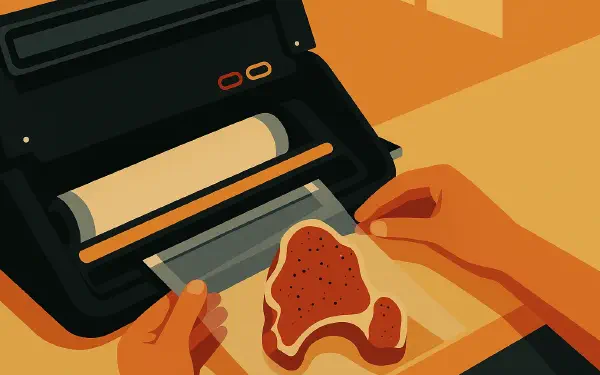
You need two things you may not already own, and both are worth it if you cook chicken (or steak, or eggs, or salmon) with any regularity. A sous vide circulator (the wand that heats and holds the water at a precise temperature) and a vacuum sealer to get the air out of the bag so the breast sits in full contact with the water. Neither is expensive any more, and neither is a gadget that lives in a cupboard gathering dust; once you own them you’ll find yourself reaching for them weekly.

Anova Culinary Sous Vide Precision Cooker 3.0 (WiFi), 1100 Watts, Stainless Steel
- Holds the water bath to a precise, unwavering temperature; the whole reason this method is foolproof
- 1100 watts comes up to 65°C quickly and stays there for the full 45 minutes without fuss
- Adjustable clamp fits nearly any pot deep enough for the job, so no special vessel required
- Removable stainless skirt twists off for easy cleaning; WiFi and a two-line display if you want them
- Doubles for steak, salmon, eggs and vegetables once you’re hooked


Anova Culinary Precision Vacuum Sealer Pro, Includes Large Bag Roll (19ft), Wet & Dry Dual Food Vacuum Sealer Machine for Sous Vide and Long-Term Storage, 2-Year Warranty
- One-handed operation for clamping, vacuuming, and sealing with a single hand
- Wet and moist modes with a double sealer for liquid-rich foods (brine-damp chicken included)
- Built-in bag storage with sliding cutter and accessory port for containers
- Our top pick in a full field of vacuum sealers, and purpose-built for sous vide
Tip: No vacuum sealer? The water-displacement method works in a pinch; put the breast in a good-quality zip-lock bag, lower it slowly into the water and let the pressure push the air out through the last inch of open seal, then close it. A vacuum sealer does it better and more reliably, but don’t let its absence stop you tonight.
Ingredients
Makes 1 breast; scale the brine up for more, keeping the ratio.
- 1 chicken breast, skin on and intact (the skin is your reward at the end; don’t buy it skinless)
- 100g fine salt
- 1 litre cold water
- Extra virgin olive oil (just a touch, for the sear)
- Flaky sea salt and freshly ground black pepper, to finish
- Optional: a knob of butter, a smashed garlic clove, or a sprig of thyme for the bag (see the note below)
Method
1. Make the salt bath
In a large bowl or jug, combine the 100g of salt with 1 litre of cold water and whisk until the salt has fully dissolved, a good thirty seconds of proper whisking, until you can’t feel grains at the bottom. This is a 10% brine, which sounds aggressive and is exactly right for a short soak; it seasons the breast quickly and deeply without turning it into ham.
Submerge the chicken breast completely and leave it for 30 minutes to 1 hour. Thirty minutes is my preference, long enough to season the meat right through and firm up the texture, short enough that it never edges toward cured. Set a timer and don’t wander off for the afternoon.
Tip: Do not add extra salt at any later stage. The brine has already seasoned the meat all the way through, and the flaky salt you scatter at the end is only for the skin. Over-salt now and there’s no walking it back.
2. Dry and bag
Lift the breast out of the brine and pat it completely dry with kitchen paper (surface, underside, everywhere). A wet breast is fine for the bath but hopeless for the sear later, and drying it now saves you a soggy scramble at the end.
Slide it into your vacuum bag and seal, pressing out all the air so the bag hugs the meat. I bag mine plain, and I’d gently suggest you do too the first time: the brine has done the seasoning, and the pure, clean flavour of the chicken itself is the point. If you do want to add aromatics, go easy (a single sprig of thyme, one smashed garlic clove, a small knob of butter). Anything you put in that bag will press hard against the meat for 45 minutes and dominate the result, so restraint pays.
3. Sous vide at 65°C
Set your circulator to 65°C (149°F), clip it to a deep pot of water, and let it come up to temperature before the chicken goes in. Lower the sealed bag into the bath, making sure it’s fully submerged, and cook for 45 minutes.
Sixty-five degrees is the number I keep coming back to for breast: hot enough to be safely and thoroughly pasteurised at this hold time, cool enough that the meat stays tender, silky and properly juicy rather than firm and chalky. It will look paler than pan-cooked chicken, and that’s exactly what you want.
Tip: The beauty of the bath is that it’s patient. If you’re not quite ready to eat, another fifteen or twenty minutes at 65°C won’t hurt the breast in the slightest; it can’t cook past the water’s temperature. This is why sous vide is the least stressful way to time a dinner for guests.
4. Dry it again
Take the bag out, open it, and lift the breast onto a fresh piece of kitchen paper. Pat it thoroughly dry once more. This second drying is not optional and it is not busywork: any surface moisture will steam in the pan instead of browning, and you’ll never get a proper sear on a damp breast. Get it dry.
5. Sear the skin
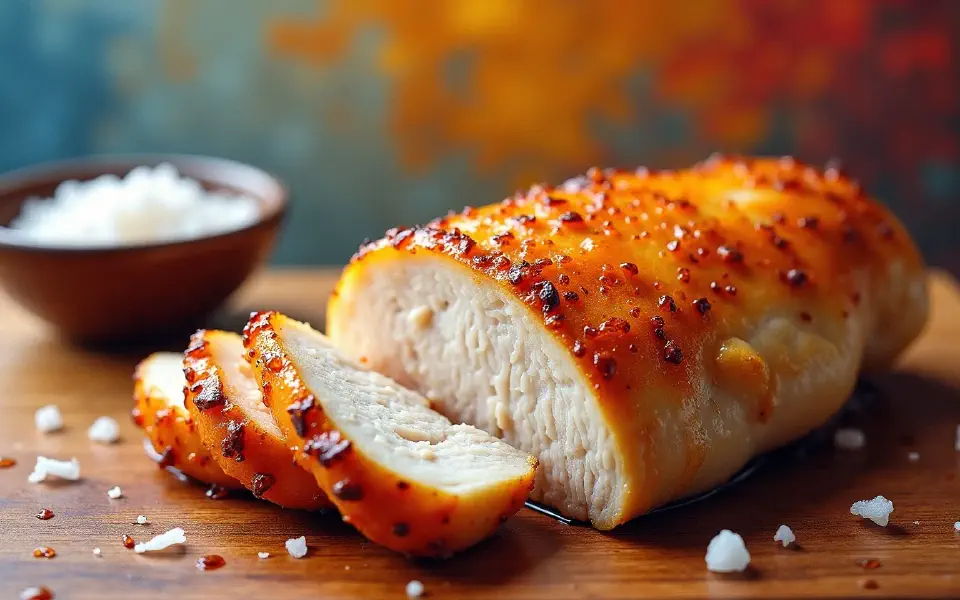
Put a touch of olive oil in a pan over medium heat (medium, not screaming hot); the breast is already cooked and you’re only after colour, so there’s no need to blast it. Once the oil shimmers, lay the breast in skin-side down and press it gently flat with a spatula so the whole skin makes contact. Sear for 1 to 2 minutes, until the skin is golden and crisp. Give the other side a brief moment if you like, then lift it out.
Rest it for a minute, scatter the crisp skin with a little flaky sea salt and a grind of black pepper, then slice and serve. That’s it; you’re done.
Tip: Because the inside is already perfectly cooked, keep your eyes on the skin and nothing else. The moment it’s golden and crackling, it’s finished; leaving it longer only risks drying out the very edge of that beautiful interior you worked to protect.
To Serve
This breast is good enough to stand almost naked, sliced across the grain on a warm plate, its juices pooling, a lemon wedge alongside. But it plays well with almost anything: a sharp green salad and good bread for a light lunch, buttery crushed new potatoes and greens for something more substantial, or shredded cold the next day into the best chicken sandwich you’ll make all year. A pan sauce built in the searing pan (a splash of stock, a knob of butter, a squeeze of lemon) takes three minutes and lifts it to dinner-party standard.
In Conclusion
The chicken breast isn’t a boring cut. It’s a precise one, and a pan simply doesn’t give you the control it demands. Give it a bath instead, brine it first, sear it last, and the thing that used to be a weeknight gamble becomes the most reliable, repeatable, genuinely excellent piece of chicken in your repertoire.
Cook it once and you’ll understand what all the fuss is about. Cook it twice and you’ll stop buying skinless breasts out of principle. Cook it three times and you’ll find yourself, somewhere around the second slice, quietly explaining to whoever’s at your table that the trick, you see, is the salt bath, to people who did not ask, and who will nonetheless be back next week for more.